 Miguel Escobar Published April 16, 2019
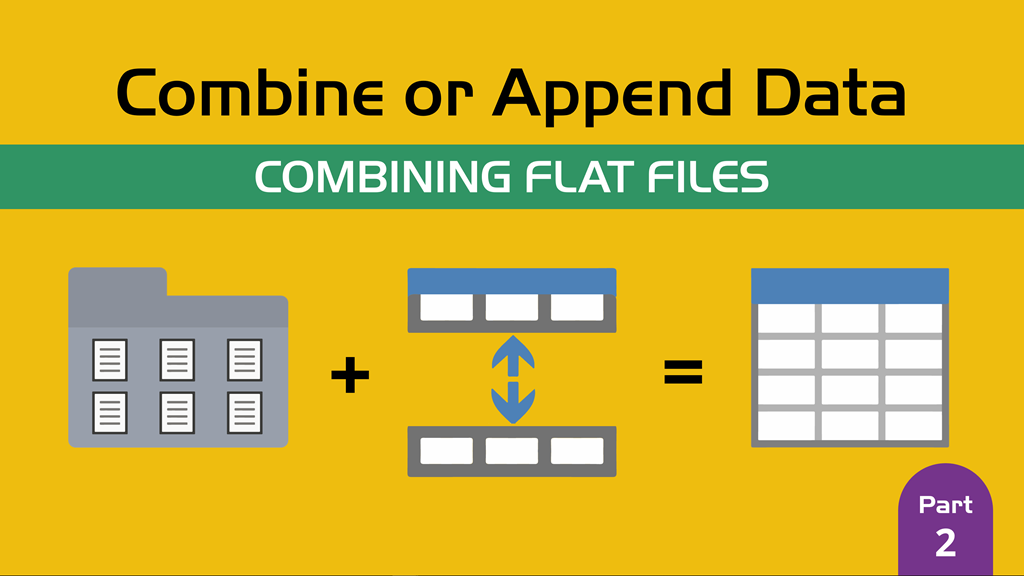
IMPORTANT: You can read the official documentation that Microsoft has on this topic from the following link (url).
In the previous blog post, I went through the basic concepts behind the Append operation found in Power Query for Excel and Power BI.
In that post, we only used 2 files and it was pretty straightforward to simply click the Append queries button to combine both queries like so:
A more complex scenario
but what happens when you have multiple files? Let’s say 12 files. 1 for each month of the year.
Let’s go a bit further, what if you have a folder for each year and within each folder a flat file for each month of that year?
Creating a query for each file is too time consuming and is not a dynamic solution as every year/month you’ll end up coming back to this query and having to modify it.
What’s the best option? Connecting to a folder and using the Combine Files experience.
If you wish to follow along, be sure to download the files from the button below:
Step 1: Connect to the Files

Our file are stored in a Sales folder and then within that folder we have some sub-folders for each year.
Instead of connecting to every file individually, or to every year folder individually, we’ll just be connecting to the Sales folder so we can gain access to everything within that Sales Folder.
Let’s connect to that Sales Folder! With Power Query this is a piece of cake.

Simply select the “Folder” option and the navigate to the folder that you wish to connect to.
You’ll notice that it’ll display all the files for that folder and any subfolders within it:

At this stage, I highly recommend that you click the ‘Edit’ button and never hit the Combine button.
The Edit button will take you to the Power Query Editor window where you’ll have more control over what’s going to happen.
Usually at this stage what you want to do is make sure that you only get the files that you want to consolidate, so it is recommended that you filter out any files that shouldn’t be appended.
In our case, all of the files that we want to combine are in those folders and there’s nothing more in those folders.
Let’s go with the next step!
Step 2: Using the Combine Files Experience
When you see your query, you’ll notice that there’s a first column by the name of Content and right next to the name of that column you see a button that looks like 2 arrows going down against a base line.
That same button appears on the Home tab under the Combine group as shown in the next image:

That button is called the Combine Files button and is only available when you have a column with Binary values.
Note: if you have a really old version of Power Query (prior to June 2017) then this button might be called Combine Binaries and it does a completely different action than the one that I’m describing on this blog post.
Before we hit that button, we need to make sure of a few things:
- Do all of the files in this query have the same file extension? – Yes, they’re all CSV files
- Do the files in question have a quite similar structure? Yes, they do.
You’re probably wondering, what happens if you have a situation where you ask yourself those questions and the answer to either one is a no. We’ll see that later in this blog post, but for now we’ll focus in our scenario.
Once we click on the Combine Files button, we get a basic assistant that guides us through a process that will create a “recipe” or “transformation process” that will be applied to every single file before we consolidate the data.
This whole recipe or transformation process is called a Custom Function and the “ingredients” of that “recipe” are called parameters. You can learn more about Functions and Parameter from this series that I wrote a couple of weeks ago.
What exactly is that “assistant” window that we get when we click the combine files button? In a simple way, it’s exactly the same window that we get when we connect directly to a CSV file.

would we get the exact same window if we tried to combine Excel files? No. This window is contextual to the file that you select on the “Example file” dropdown. You can leave it with the default option of First File or select a specific file that you wish to use as your example “ingredient” for your “recipe”. Yes – your file is your main ingredient for the recipe.

Also, as you can see in the bottom left corner of that window, there’s an option to Skip files with errors which means that if our recipe ends up with errors (not with the desired result), then we can get rid of that end result.
Since we’re OK with the way that our file is being read, we can just click OK and go with the next step.
Step 3: Validating the Results

You’ll immediately notice that there’s A LOT going on in that Queries pane (to your left). There’s a bunch of queries and groups that were not there before,
The main query that we are interested in is the one that has our “recipe” which is the one that starts with the words “Transform Sample File from”.

This query is the one that defines your recipe. This is exactly how each of the files in your folder will be processed and as you can see on the right it has the following steps:
- Source – how it needs to interpret the binary. In our case it interprets the file as a csv
- Promoted Headers – since flat files don’t have a defined structure of where column headers are, we are interpreting that the column headers are in the first row of the file, so we promote that row to be the column headers of our table
You can add more steps to this query and it’ll be like adding more steps to your “recipe”. This is completely optional and is only required if you need to perform some sort of transformation to your data, but in our case we don’t need it.
If you wish to have a deeper understanding of exactly what goes behind the scenes of the whole Combine Files experience, then I highly encourage you to check out this full blog post that explains it.
All that we have left to do is simply go back to our Sales query to see how our data looks and you’ll notice that it also has the name of the file where that data came from, which comes in handy when you try to audit your data for any errors.
You can also just try to filter that column to see what are values available and you’ll see that all of the files that we wanted to combine will show up in that list:

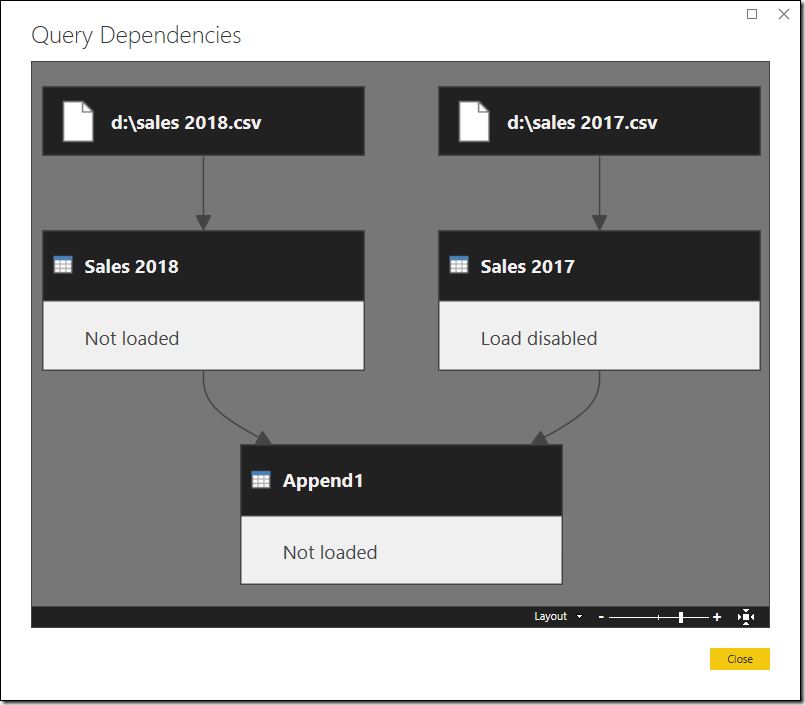
Last but not least, here’s a snapshot of how all of the queries work together:

Final Words
You might find yourself with more complex situations where you need to do much more than a simple consolidation of the data. Perhaps you’ll need to perform a clean up or transformation process before appending the data and that’s exactly why the “Transform Sample File from” query and the “Transform File From” function exists.
This whole process applies to every single binary that you want to combine, hence why the process is called “Combine Files” instead of something like “combine csv files” or “combine excel files”. We can combine any type of files that we want such as csv, txt, prn, xls, xlsx, xlsm, pdf, json, xml, and many many more.
Remember those 2 questions that we asked ourselves about the extension and structure of the files? it is WAY easier if you can just have a query where the files share both the same extension and structure, but if you feel confident about your M skills you could make things work your way. I’d still encourage you to only do the Combine Files experience with files that share the same file extension and have a closely similar structure. If they don’t have the same extension or similar structure, then you create another query and basically segment your original folder so you can target the set of files that share the same extension and structure in a more efficient way.
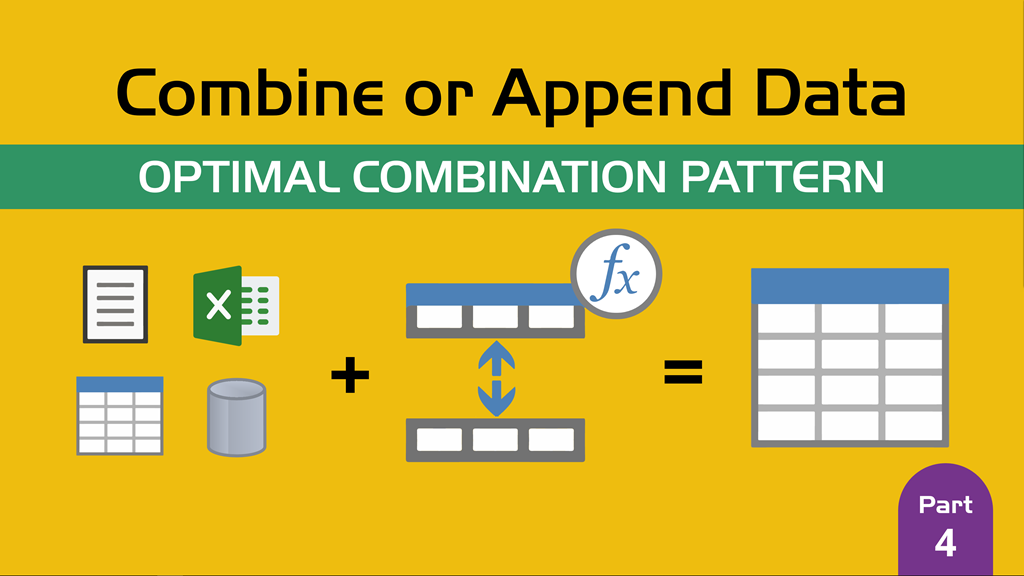
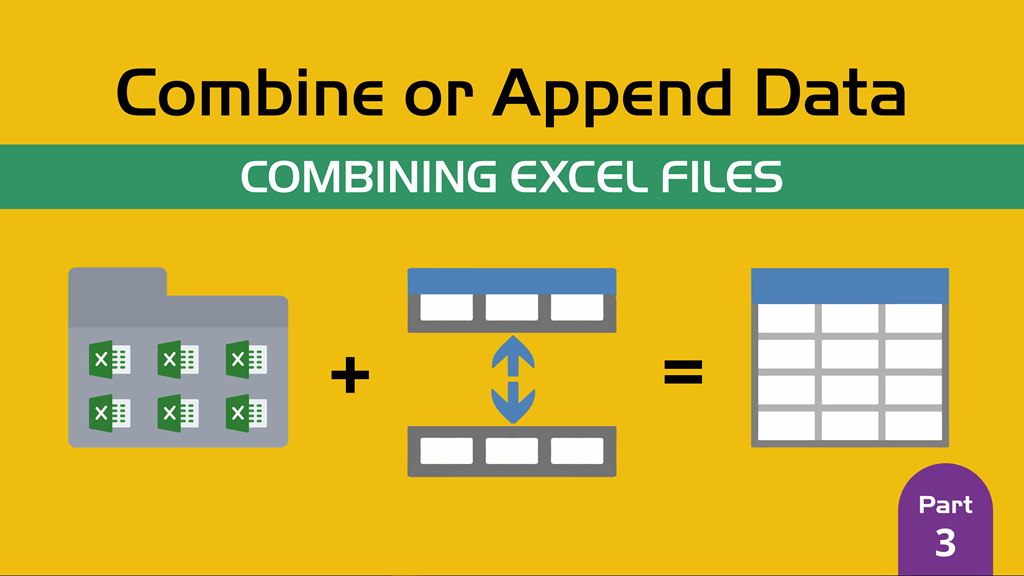
in the next blog post I’ll show you another real world situation where you need to combine data from Excel files, but you also need to transform them before doing anything.


you briefly poke about what would happen if the structure were different but how would you address a situation where you have multiple csv files and not all of them have the same columns. How would you combine them?
Hey! It depends on how different they are. I’d probably use the pattern from the last article in this series regardless of what I’m trying to combine:
https://www.thepoweruser.com/2019/04/30/combine-or-append-data-optimal-combination-pattern/
Hi Miguel,
Thank you for the post.
I successfully connected to Sharepoint and utilized “Combine Files” on existing csv files (202101.csv through 202106.csv) in the Sharepoint folder.
Upon refresh, how may I force Power Query to recognize recently added csv files in the Sharepoint folder and add the most recent monthly csv file to the data that already appears in Power BI Desktop? For example, add the 202107.csv when it automatically lands in the Sharepoint folder during the first week of August. Make sense?
Thank you in advance for your time.
-Rick
hey,
That should be automatic. I encourage you to give it a try by adding new files to your folder and executing your query again. All files should be in there unless you explicitly added a filter to not take into consideration new files.
Best!